Microsoft Outlook add-in
- Introduction
- Installation
- Using the add-in in Outlook
- Supported versions of Outlook
- Known limitations
Introduction
The contact data within a Federated Directory of a company is precious. The data gets even more powerful when it is accessible at the right moment; within the applications and services this company is already using. It is, therefore logical to deliver an add-in to one of the world’s most commonly used e-mail clients: Microsoft Outlook.
Installation
Our add-in is called “Federated Directory - Contacts” and is available on the AppSource. To install the add-in on a single account, you can follow the Microsoft Guide. If you would like to deploy our add-in in your organization, you should follow Microsoft’s recommendations - https://docs.microsoft.com/en-us/microsoft-365/admin/manage/manage-deployment-of-add-ins?view=o365-worldwide
Using the add-in in Outlook
After the add-in is installed, you can open your Outlook client - desktop or on the web. If Outlook was already opened, close it entirely and reopen it again.
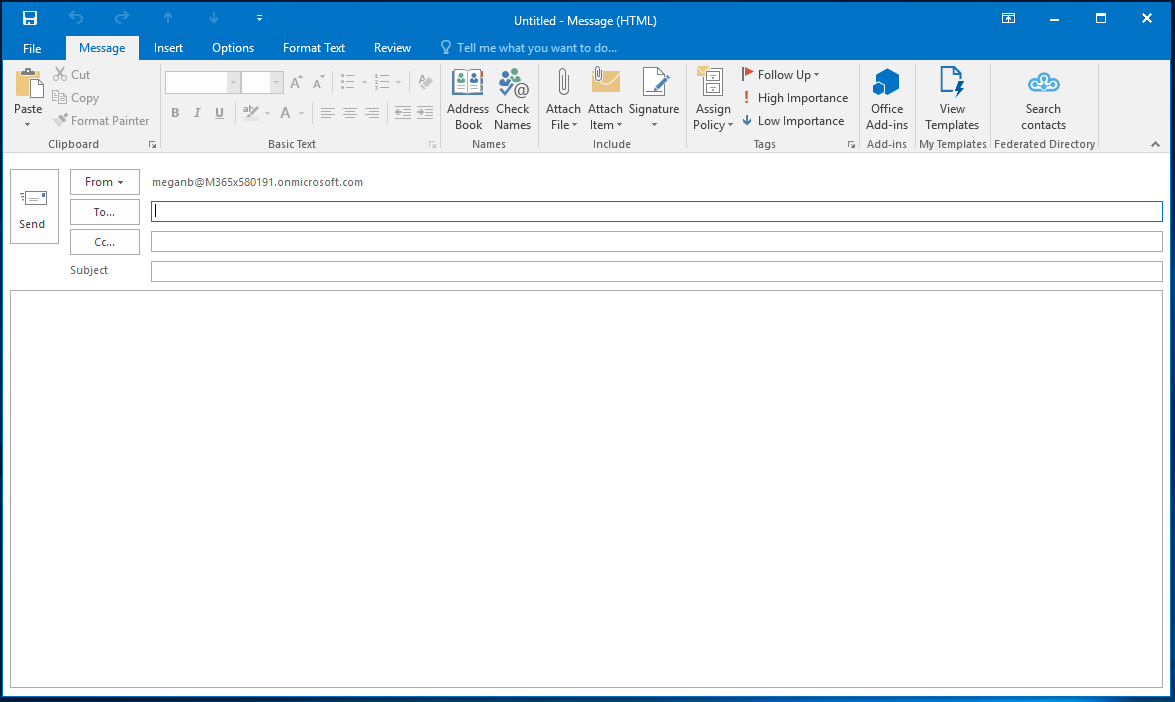
As soon as you start composing a new message you will see a Federated Directory icon in the top bar. If it’s not visible, click on a “Message” tab inside your new message window.
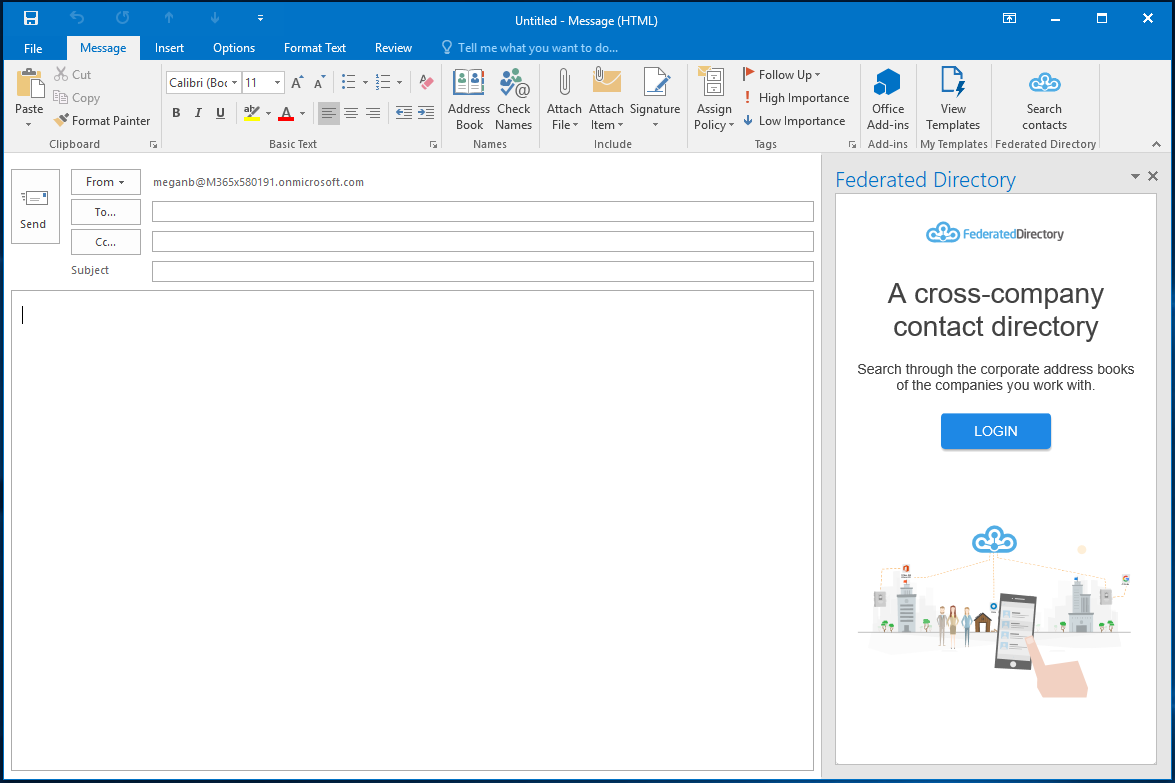
By clicking the Federated Directory icon, you will open an add-in pane on the right of your message. Inside this pane, you will have to log in to Federated Directory by clicking the “Login” button.
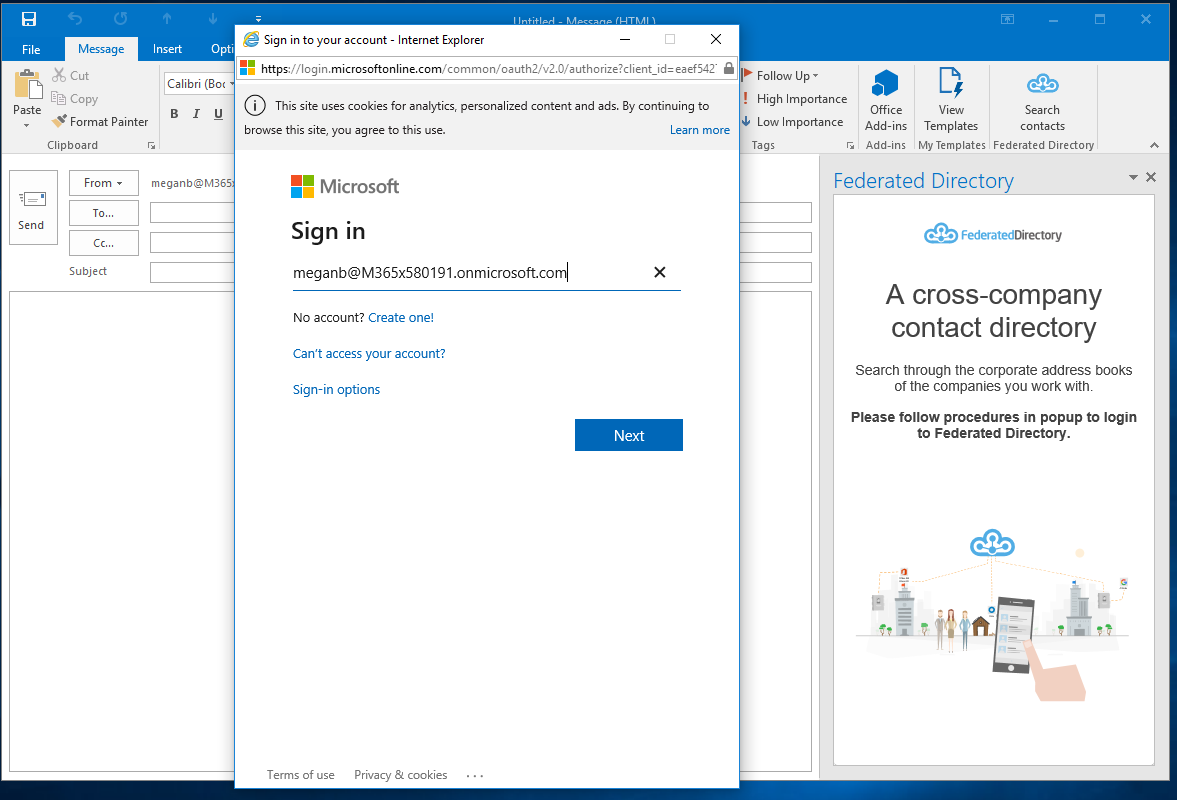
When you click the “Login” button, a popup window will be shown. When you log in, please note, that you will have to provide the Microsoft account details which you usually use when logging in to Federated Directory.
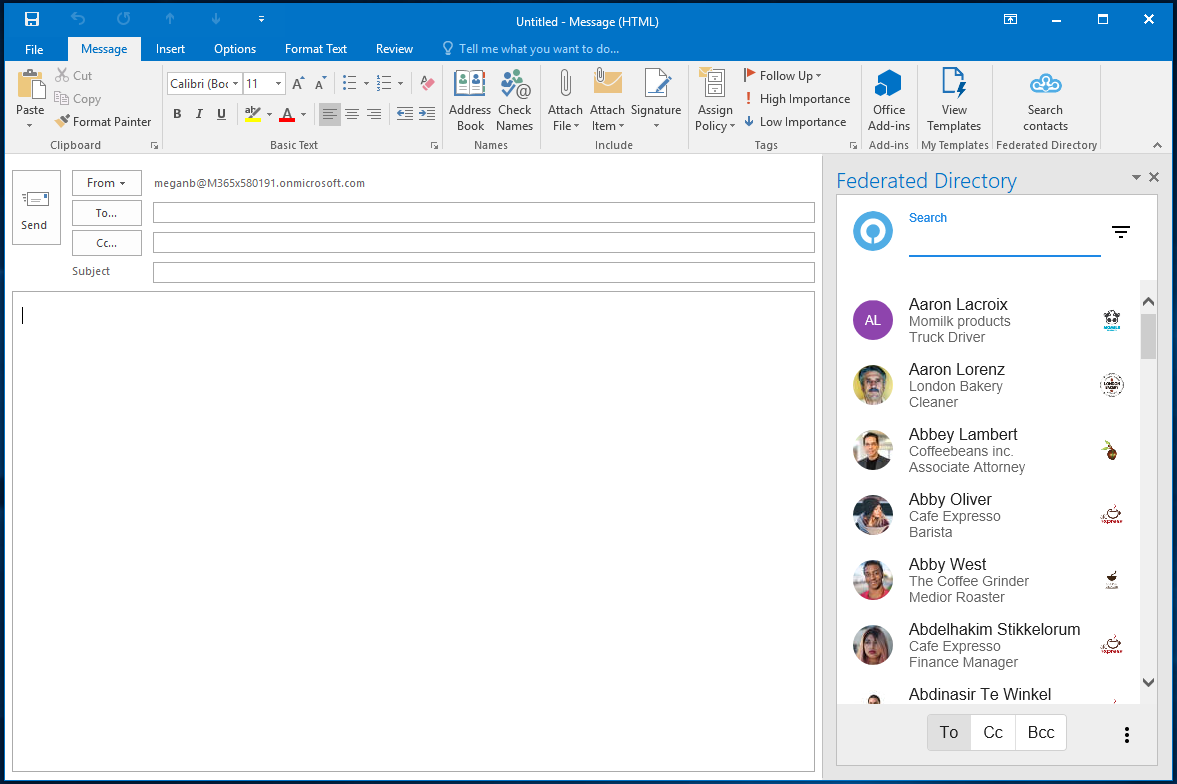
As soon as you’ve finished all the login steps, the popup window will be closed, and you should see list of contacts in the add-in pane